Making coconut oil at home is a simple yet rewarding process that ensures you get a high-quality, chemical-free product. Whether you use it for cooking, skincare, or haircare, homemade coconut oil provides the best natural benefits without additives or preservatives. Here’s a detailed guide on how to extract pure coconut oil right in your kitchen.
What You’ll Need:
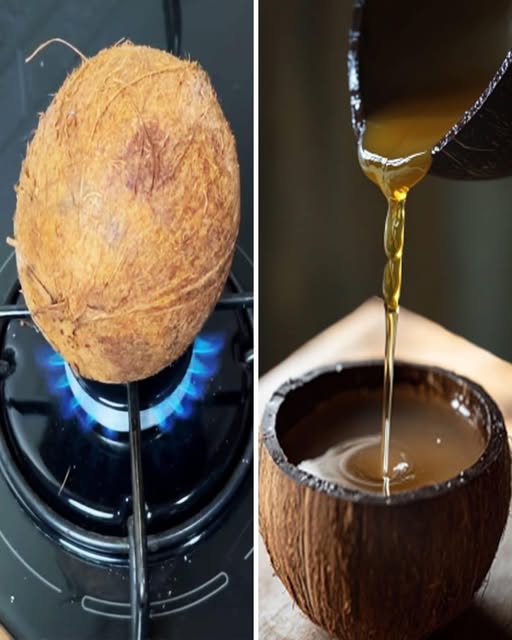
- 3-4 mature coconuts (older coconuts yield more oil)
- Water
- A blender or food processor
- A fine cheesecloth or strainer
- A large bowl
- A spoon or spatula
- A saucepan
Step 1: Preparing the Coconuts
Start by cracking open the mature coconuts. You can use a hammer or the back of a heavy knife to tap the shell until it breaks. Drain the coconut water into a container—you can drink it or use it in other recipes.
Next, carefully separate the white coconut meat from the shell using a knife or coconut scraper. Rinse the coconut meat with water to remove any shell debris.
Step 2: Blending the Coconut Meat
Cut the coconut meat into small chunks to make blending easier. Place the pieces into a blender or food processor and add water to help extract the coconut milk. A good ratio to follow is 2 cups of coconut meat to 1 cup of water.
Blend until the coconut turns into a thick, creamy paste. You may need to stop and scrape down the sides to ensure even blending.
Step 3: Extracting the Coconut Milk
Place a fine cheesecloth or strainer over a large bowl and pour the blended coconut mixture into it. Squeeze out as much liquid as possible to extract the coconut milk. The more liquid you extract, the more oil you’ll get later.
Repeat this process with any remaining coconut pulp to ensure you gather every drop of coconut milk.
Step 4: Allowing the Oil to Separate
Let the bowl of coconut milk sit at room temperature for 24 hours. During this time, the oil will naturally begin to separate from the liquid, forming a thick, creamy layer on top.
After 24 hours, place the bowl in the refrigerator for a few hours to solidify the creamy layer. Once it hardens, carefully scoop the solidified cream out, leaving the water behind. You can discard the leftover water or use it for other cooking purposes.
Step 5: Heating to Extract the Oil
Place the hardened coconut cream in a saucepan over low heat. As the cream heats up, it will melt and release the coconut oil. Stir occasionally to prevent burning and ensure even heating.
Continue cooking until all the water evaporates, leaving behind clear coconut oil. This process can take 30-45 minutes.
Strain the oil through a fine sieve or cheesecloth to remove any remaining solids.
Step 6: Storing Your Coconut Oil
Allow the coconut oil to cool before transferring it to an airtight glass jar or bottle. Store it in a cool, dry place. While homemade coconut oil doesn’t require refrigeration, keeping it in the fridge will extend its shelf life.
Benefits of Homemade Coconut Oil
This natural extraction method preserves the essential nutrients in coconut oil, such as lauric acid, which has antimicrobial and immune-boosting properties. Unlike commercial coconut oils that undergo heat processing and refining, homemade coconut oil retains its pure, unrefined quality.
Why Make Coconut Oil at Home?
✅ Pure and Unrefined: Free from additives and preservatives. ✅ Multi-Purpose: Ideal for cooking, skincare, and haircare. ✅ Cost-Effective: Saves money in the long run. ✅ Eco-Friendly: Reduces packaging waste and promotes sustainability.
By following this simple step-by-step guide, you can create high-quality coconut oil at home with minimal effort. Not only is it a cost-effective and environmentally friendly option, but it also ensures you get the purest, most beneficial oil possible. Plus, homemade coconut oil retains the natural coconut aroma, giving you a rich, authentic experience.
So why not give it a try? Once you experience the benefits of homemade coconut oil, you’ll never want to go back to store-bought versions!